
Using Token2 programmable hardware tokens with Twilio

 Twilio is a platform, which provides programmable communication tools for making and receiving phone calls, sending and receiving text messages, and performing other communication functions using its web service APIs.
Two-factor authentication (2FA) is an optional security feature that requires you, the user, to provide two means of identification in order to access your project.
For Twilio projects, this would include your standard login credentials (email address and password), as well as a randomized verification code sent to your phone (via a call, SMS message, or a TOTP authentication app).
Our programmable tokens can be used as a drop-in replacement for such TOTP authentication apps, so it is quite easy to use Token2 programmable tokens to secure your Twilio account.
The guide below will show you the steps for enabling MFA using our programmable tokens.
Requirements:
• A Twilio account with MFA feature enabled (we will use the an account of a trial subscription for this guide, but the procedure is similar for regular accounts as well)• Any of the Token2 TOTP programmable tokens
• An app for provisioning the programmable tokens (NFC burner or USB Config tool, depending on the model). The list of compatible apps is available here.
Step 1. Enable an MFA method
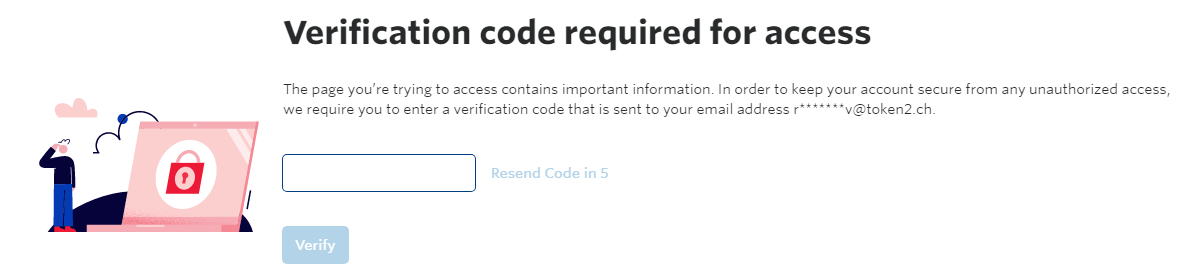
Log in to your Twilio account, click Console and in the right top corner, click on the username and choose 'User Settings' from the menu.You will be asked to enter the verification code, which will be sent to your registration email address.
Scroll to the "Enable Two-Factor Authentication (2FA)" section, and then select one of the desired 2FA enablement options. Click Update 2FA Settings to save your selection.

•Once per computer: Request verification to validate a single computer every 30 days.
•Every log-in: Request verification every login attempt.
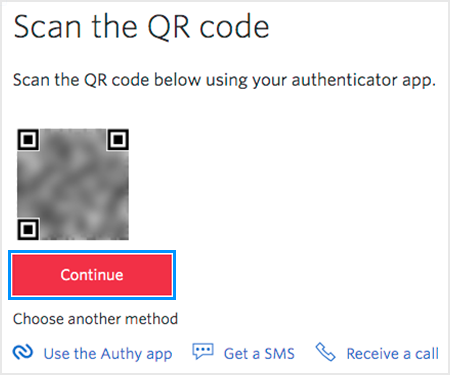
Scroll to the "Two-Factor Authentication (2FA) Methods" section, and then select Another authenticator app. Click Update 2FA Method to save your selection.

A Twilio QR code will be displayed in the browser that you will scan using one of the provisioning tools in the next step.
Step 2. Provision the token
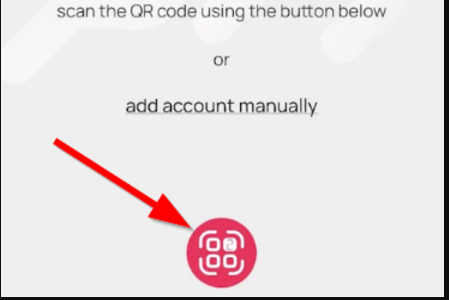
- Launch the NFC burner app on your Android device and hit the "QR" button
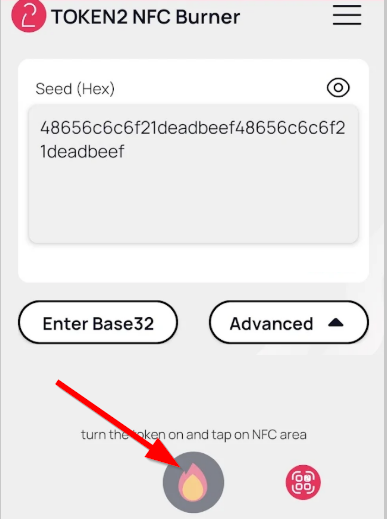
- Point the camera to the QR code shown on the account page. Upon a successful QR scan, the camera window should disappear
- Turn on the token and touch it with your phone (make sure it is overlapped by the NFC antenna) and click "Connect" on the app
- Upon successful connection, click the "Burn seed" button (the button will become active only if NFC link is established).
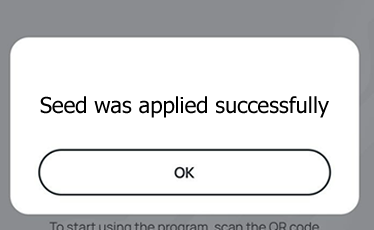
- A message box similar to the one below will be shown upon successful completion
Follow the steps below to perform setting the seed for your token using Windows App.
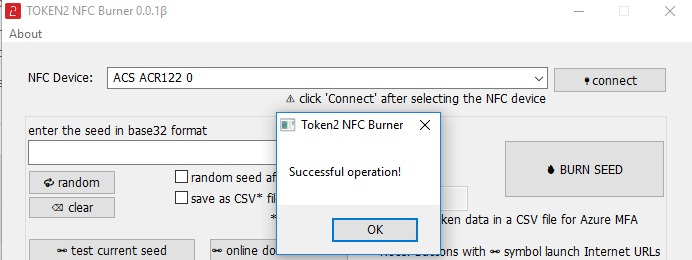
1. Launch the exe file, then select the NFC device from the drop-down list and click on "Connect". You should see a message box notifying about a successful operation.
2. Enter or paste the seed in base32 format, or use one of the QR scanning methods to populate this field
3. Place the token onto the NFC module and wait for its serial number to appear.
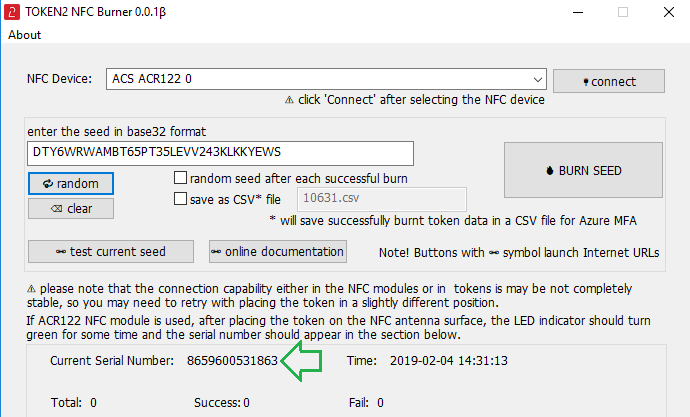
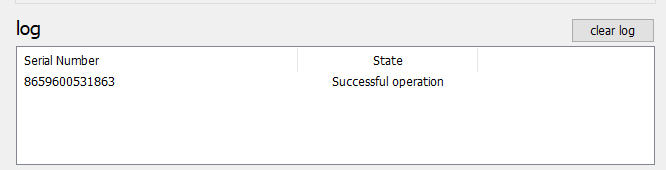
4. Click on "Burn seed" button. A log entry with the serial number and "Successful operation" text will be logged in the log window.
- Launch the NFC burner app on your iPhone device and hit the "scan QR" button
- Point the camera to the QR code shown on the account page. Upon a successful QR scan, the camera window should disappear and the seed field will be populated with the hex value of the seed. Touch the Burn button to continue.
- When an NFC prompt similar to the one below is shown, turn on the token and touch the top of your iPhone with the token.
- A message box similar to the one below will be shown upon successful completion
Please note that the procedures above are shown only as examples and are valid to single profile TOTP tokens only. The procedure for multi-profile and USB-programmable devices are similar but slightly different
Step 3. Verify the OTP
After the token provisioning is done, turn the token off and back on. Enter the OTP generated by the hardware token and then click Verify.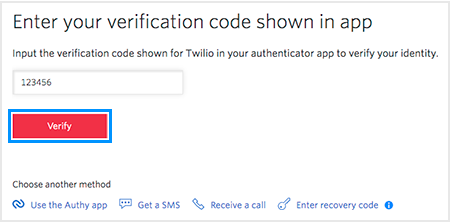
Users enabling 2FA for the first time will see a recovery code displayed in the browser window.
Save this code, as you'll need it to recover access to your account if you ever lose access to your 2FA authentication app.
Subscribe to our mailing list
Want to keep up-to-date with the latest Token2 news, projects and events? Join our mailing list!